
The Best (and Easiest) Holiday Crafts to Make With Your Kids
'Tis the season to be crafty!
Not all holiday traditions require bundling up and getting out in the cold. In fact, I bet some of your fondest memories of Christmases past involve cozying up at home in your PJs sipping hot cocoa by the fire. Holiday crafts are a wonderful way to mark the holidays with your children. Besides the fact that kids adore making arts and crafts, making something together is an easy and cost-effective way to spend quality time as a family.
Below are some tried and true crafts guaranteed to make this holiday season one of the most memorable. And don’t worry, these activities are simple enough that you don’t have to be Martha Stewart to make. You will most likely have many of these supplies listed at home, but check out your local arts and craft store, like Phoenix Art Supplies & Framing in Doylestown, to get the rest!
Pinecone Christmas Trees
Gather a few pinecones, either from your local arts and crafts store or from your own backyard, and get to painting an adorable mini Christmas tree, complete with mini pom pom ornaments and paper star. Pinecones can be a little tricky to paint due to their bumpy nature, but I find that missing some areas just adds to the charm, as they will just look like brown branches you see on a real tree. Let the pinecone completely dry. When finished, take a glue stick and glue on your mini pom poms. I find that a hot glue gun works well in this area so you may need to help your little one with this step. Next, trace a star on yellow foam or construction paper. Cut it out and pop that on top. You can also buy a wood slice as a base and glue some cotton balls to look like snow. Another cute tip; sprinkle some white glitter over your pinecone to look like snow. Stick these on your mantle for decoration, add a hook and use it as an ornament, or wrap it up and gift to the grandparents.
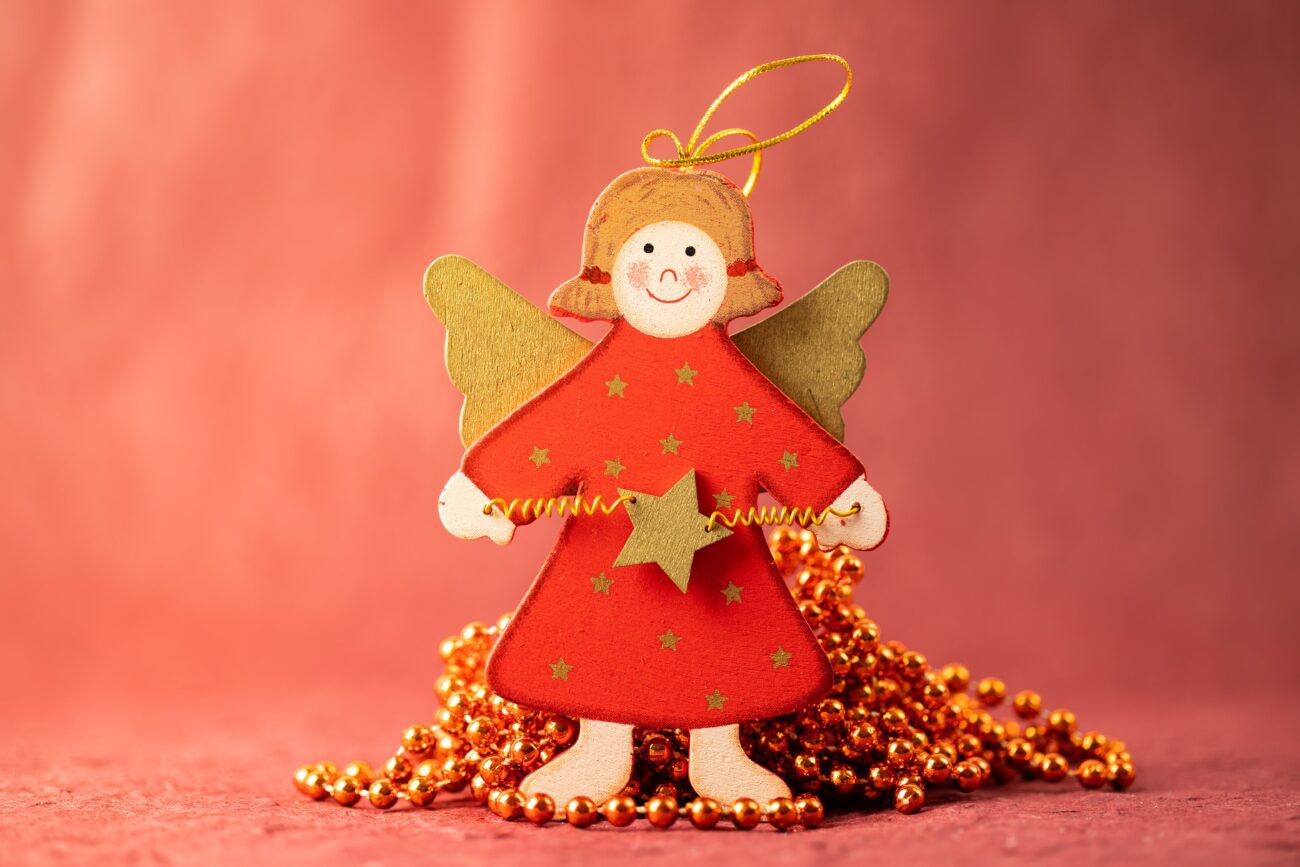
Pasta Angel
Back when I myself was a Girl Scout, a Brownie I believe, each girl in my troop got to make her own little mini Christmas tree, complete with handmade miniature ornaments. The highlight of the tree, by far, was a glorious angel, dusted in gold sporting a farfelle noodle for wings. These are a super adorable and timeless holiday craft. All you need are: macaroni noodles for the arms, rigatoni for the body and farfelle for the wings; wooden beads for the head; and a gluestick and glue gun. After they dry, feel free to add paint and/or glitter, these little angels look lovely with a coating of silver or gold glitter and we promise your children will play with these for years to come!
Fake Snow
It’s not Christmas without snow and now you can have it regardless of what the weather’s doing outside. This is a super simply activity that is not only fun to make, it’s guaranteed to keep your kids busy for hours afterwards! There are several ways to make fake snow, but if you’re making it with small children, I recommend using all edible ingredients. All you need is:
- Baking soda
- Cornflour
- A little bit of water (and a bowl and spoon).
First, pour 200 grams of baking soda into a bowl. Next, add equal parts of the cornflour and mix the two together. Pour a little water into the bowl and mix it with a spoon or your hands. A couple of teaspoons ought to do the trick. The aim is to mix in a little at a time until you get the right consistency. Keep mixing your fake snow until it turns into a crumbly, fluffy snow-like texture. Your kids will love mixing the water in with their hands! For some added extra fun, pop the snow into a sensory bin with some miniature reindeer and polar bears to make your own winter wonderland of fun!
Salt Dough Handprint Ornaments
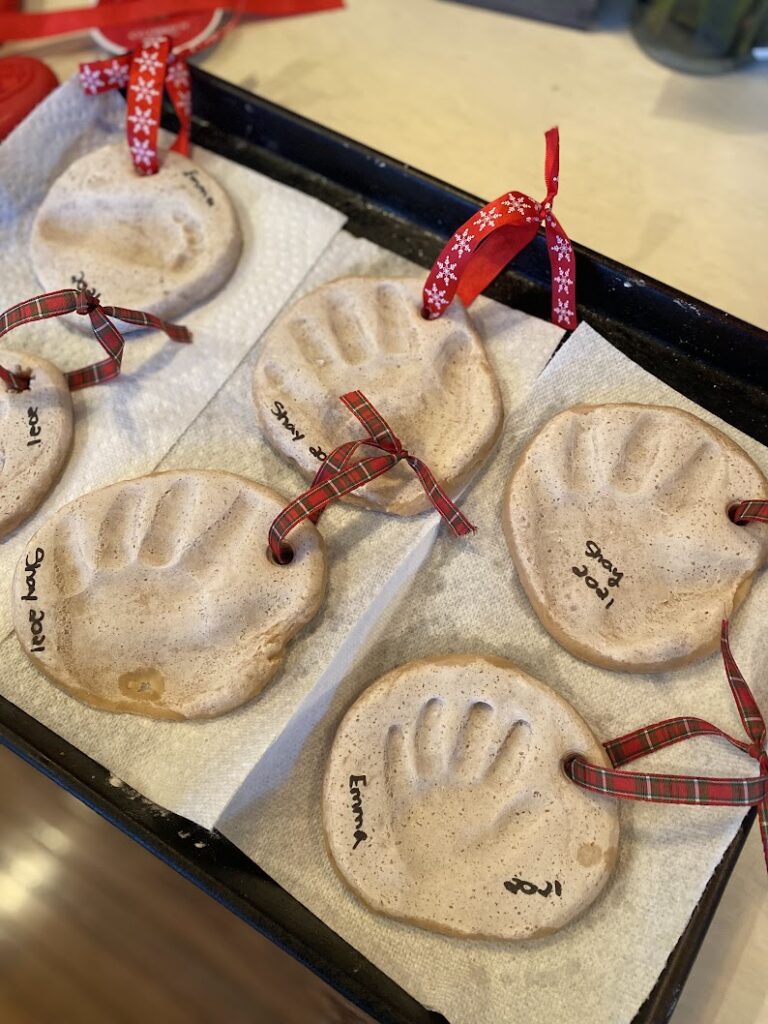
One of my all time favorite holiday crafts I’ve made with my kids, these little salt dough handprint ornaments are going to be hanging up on my tree as a keepsake long after they’ve grown and made me an empty nester (sniff). To make the salt dough, you’ll need four cups of all purpose flour, one cup of salt and one and a half cups of water. I used Himalayan sea salt to give my ornaments a crystalized look and feel. First, combine all of your ingredients and mix well until it starts to form a dough. Once mixed, knead the dough, rolling it out with a rolling pin. Then, carefully help your kids place their hand in the dough. The steadier they are, the more distinct your handprint will be! You can use a cookie cutter to cut out the dough in whatever shape you’d like. Next, you’ll want to use a straw to create a hole at the top of the ornament (when it dries you can tie ribbon or string to your ornament for hanging). If you have time, let the ornaments air dry for a day. This will cut down on the baking time required and help to prevent puffing, but if not you can bake the ornaments at 250 degrees Fahrenheit for an hour or two. Once the top of the ornaments look dry and solid, flip over and bake on the other side for another hour or two. Afterward they’re dry, you can paint or add glitter to your handprints, just don’t forget to seal the dough with mod poge or a clear glaze spray. And viola! A holiday keepsake that will last for years to come.
Pool Noodle Menorah
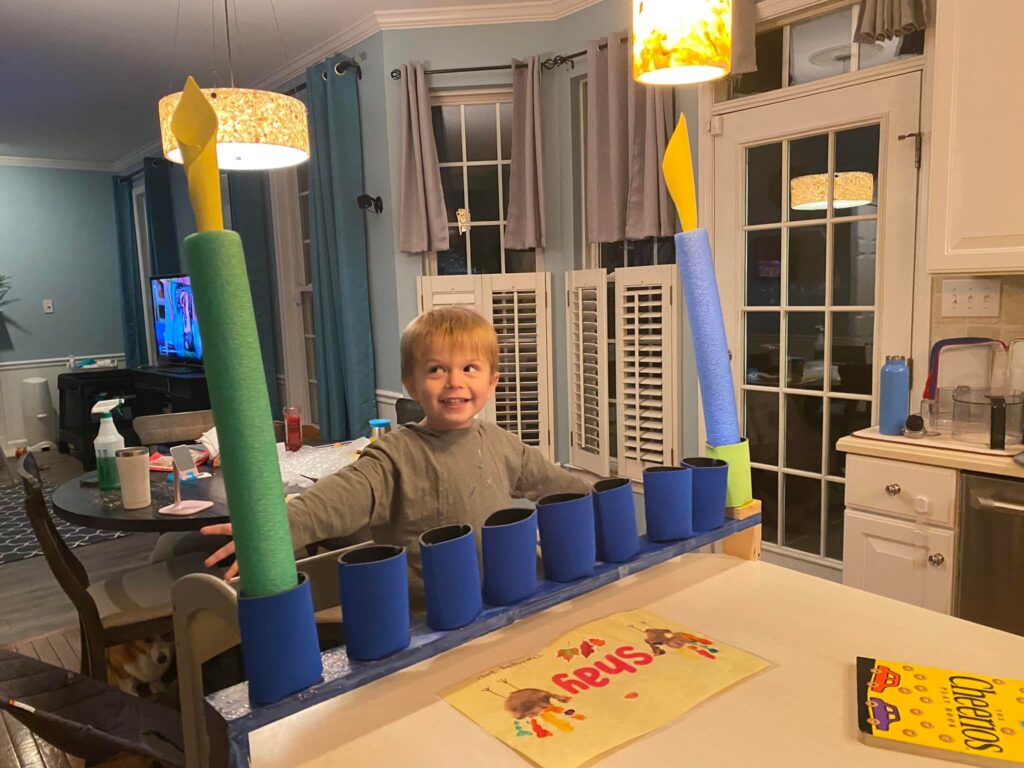
Hold onto your yarmulke because this menorah is one of biblical proportions! A few years ago my son came home from preschool with a homemade pool noodle menorah and I just about collapsed from laughter because it was nearly the size of him! This project requires a bit more extensive instruction, so I encourage you to check out The Bible Belt Balabusta’s (she claims to be the original crafter of this creative candelabra) blog post on these!
Hot Chocolate Bombs
Hot chocolate bombs might sound intimidating at first, but the truth is, anyone can make them – you don’t even need a mold, to make them the bomb. See what I did there? Here’s what you’ll need:
- 12 ounces of semi-sweet chocolate melts
- 1/4 cup hot cocoa mix
- 18 to 24 mini marshmallows
- Sprinkles, for decorating (optional)
- 6 cups whole or 2 percent milk, for serving
- Cupcake liners (unless you have a mold)
Follow the directions on the bag of your chocolate melts for melting your chocolate. You can buy regular semi-sweet chocolate chips and temper the chocolate, but microwaving melts is much easier. Coat cupcake liners with chocolate. Drop 1 tablespoon of your chocolate into each of 6 parchment paper cupcake liners. Use a brush to coat the bottom and sides of the liners with the chocolate, then let sit at room temperature until the chocolate is hardened. Next comes the fun part, filling them with the goods! Place two teaspoons of hot cocoa mix, three to four mini marshmallows, and sprinkle in those sprinkles as your heart desires. Close the bombs with more chocolate, drizzling the chocolate over the liner. Use the back of a small spoon to smooth the chocolate over the filling to completely enclose it. Once they’re completely hardened, heat up a mug of milk and get ready for an explosion of flavor!
Handprint Wreath
When it comes to creating fun and easy keepsakes, handprints are by way the winners. Grab some scissors, green construction paper, a paper plate, a few red pom poms and ribbon. (Tip, grab a few shades of green to mix it up.) First cut out the circle center of your paper plate. Then trace your child’s hand on the green construction paper. Because you need quite a few, you can trace and cut out one and then use that to trace the rest. I recommend about 10-12 handprints. Glue them to your paper plate circle. Then, take your pom poms and adorn your wreath. Tie it with a ribbon and voila! It’s ready for hanging.
Once you get started, you’ll find that there are really an endless amount of ideas out there! Get a feel for both your kid’s interests and their capabilities and have fun!
Feature photo courtesy of Pexels
NO COMMENTS